Supercritical Drying with Liquid Carbon Dioxide Part 2 of 2
First and Foremost: Do Not Skip Part 1 of 2
You really need to read Part 1 of 2 before going through this page, which covers:
- Stuff You’ll Need
- Important Notes
- Understanding Siphon Action
- Carbon Dioxide Facts, and
- Safety Precautions
Process Overview
As you will recall from Part 1 of 2, the entire process involving the supercritical dryer has four phases:
- Phase 0: Loading (1 hour)
- Phase 1: Solvent Exchange into Liquid Carbon Dioxide (2-3 days)
- Phase 2: Supercritical Drying (1-4 hours)
- Phase 3: Depressurization and Shutdown (1-2 hours)
Phase 0: Loading
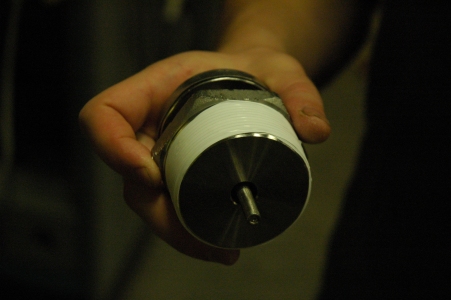
Yet another note–remember that big pipe plug on the Aerogel.org supercritical dryers? That serves as your door. This will need to be removed to place gels inside the dryer and replaced for pressurization.
And remember the crumb cup with holes or wire cage we mentioned in Part 1 of 2? This will serve as your gel container.
Lastly, a reminder that when we say manuclave, that is our affectionate term for a homemade supercritical dryer, which is technically a type of autoclave but is so not automatic as the name might suggest.
Part A. Loading Gels
- Make sure all connections are tight and that all PTFE tape seals are good.
- Close all valves.
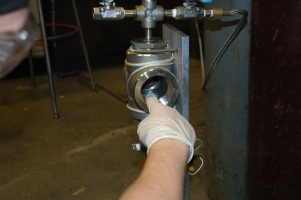
- Clean the threads on the opening of the main body of the manuclave and the pipe plug with a latex glove and/or a lint-free cloth with alcohol or other solvent.
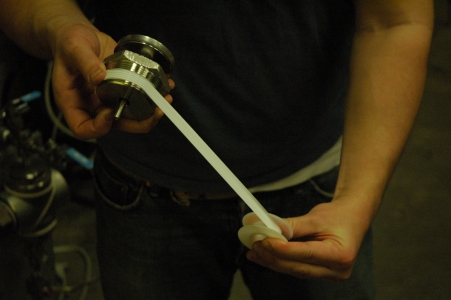
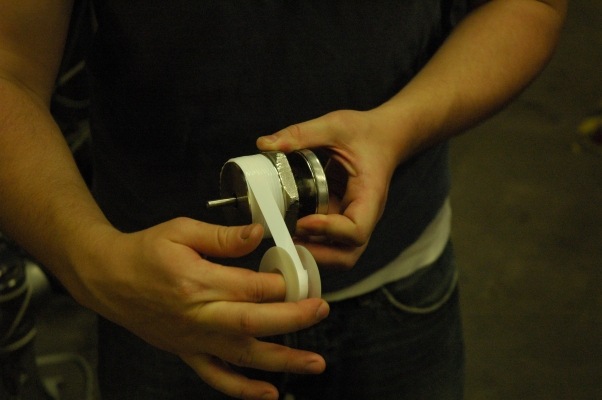
- Wrap the pipe plug with four to five layers of PTFE tape. Make sure you wrap the tape clockwise as you look face-on at the end that will screw into the manuclave.
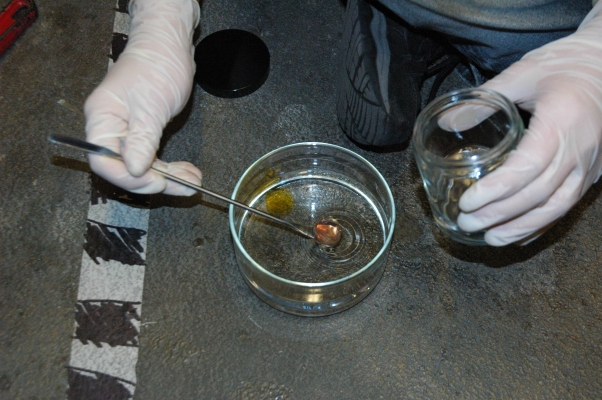
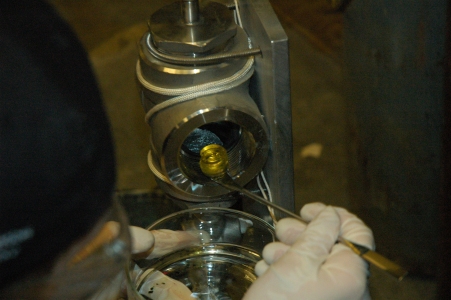
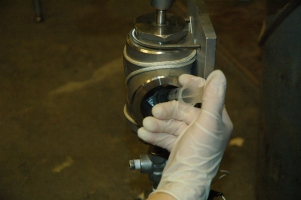
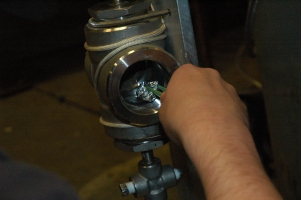
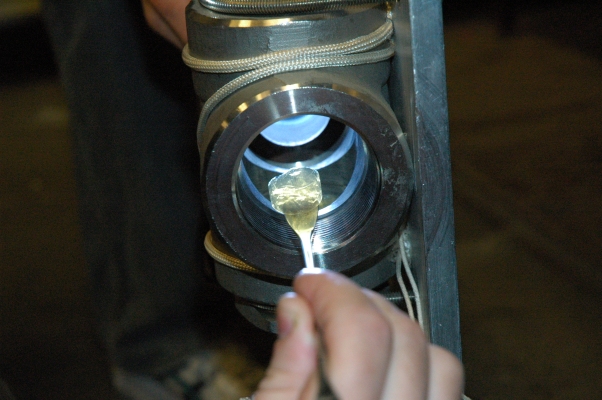
- Carefully place the gel(s) in the bottom of the inside of the main body of the manuclave. Make sure you are wearing splash goggles and gloves for this step.
- Use a solvent-resistant spoon, scupula, or spatula when pick up the gels. Stirring up the solvent bath can wisk the gels up and make them easier to scoop up.
- Depending on the size and delicacy of the gels, it may be advisable to place the gels in the gel container talked about in Part 1 of 2 instead of putting them directly in the manuclave.
- When using something like a wire screen cage, attach a retrieval wire to somewhere on the cage so that the cage can be pulled out of the manuclave later without having to pinch it.
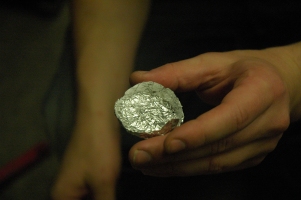
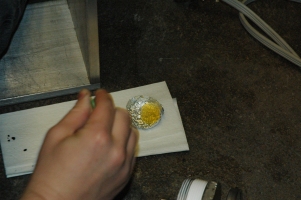
A fine gel container made with aluminum foil
- MAKE SURE YOU ARE WEARING SAFETY GOGGLES FOR THIS STEP OR YOU WILL GET SQUIRTED WITH SOLVENT IN YOUR EYE. With a syringe, suck up some solvent and squirt it GENTLY into the manuclave over the gels to create a bath for the gels to wade in while you finish setting the vessel up.
- The solvent should be the same solvent the under which the gels had been soaking prior to placing them in the manuclave, so ethanol or acetone or whatever you used.
- Use enough solvent to ensure the gels will be completely covered in the manuclave, but not much more (this will require some thinking ahead, but 80 mL or so should be sufficient to cover the gels if they have been placed within the volume recommended in the diagram above).
- Don’t let the solvent spill over onto the threads where the pipe plug door screws in.
- It’s okay if a little bit of your gel(s) pokes above the top of the solvent.
- Note the volume of liquid used.
- Wipe the threads where the pipe plug door screws in dry and clear of any detritus with paper towels. Make sure little to no lint is left behind.
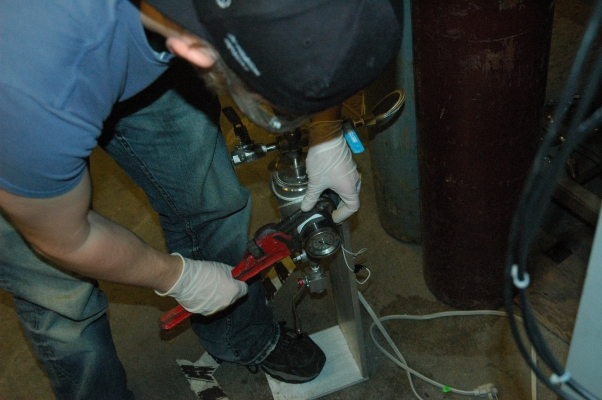
- Wrench the pipe plug into the manuclave. Make sure it’s tight. You may need step on the stand of the manuclave while wrenching to get leverage.
Part B. Cooling and Pressurizing
- Ensure all valves are closed and that the pipe plug door is sealed and tight.
- If you notice the pipe tape wrapping the pipe plug has become wet from solvent inside the vessel, this is okay but you may have a slightly leak during some or all of your pressurized processing.
- If you notice the pipe tape bunching up as you screw the pipe plug in, you probably put the pipe thread tape on the wrong direction. Unscrew and replace the tape in the right direction.
- If you have a freezer: Place the manuclave into a freezer with the hose extending out to the carbon dioxide tank. Close the freezer lid gently on top of the hose.
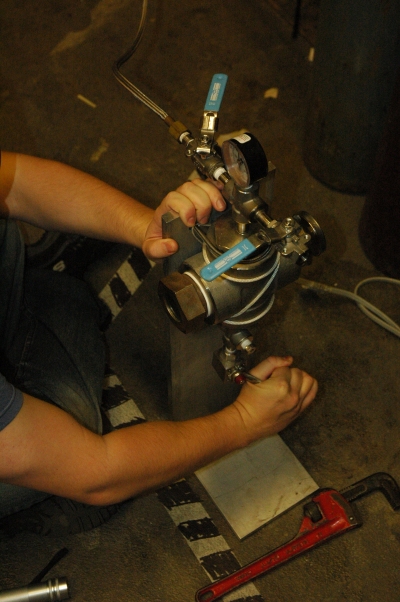
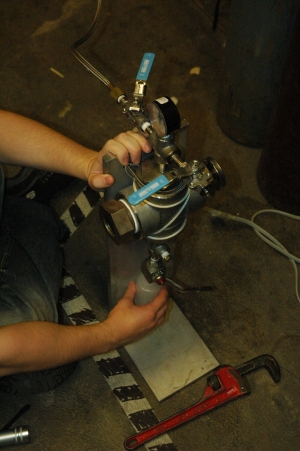
- When moving the manuclave, grab it by the small cross from which the valves extend, reaching in from the back with two fingers under one side of the cross and two fingers under the other side.
- Make sure when moving the manuclave (especially when it is pressurized!) that you do not knock any valves open.
If you do not have a freezer or do not wish to use a freezer: Skip to Step 4.
- Allow the manuclave to cool to about 10°C (50°F) but not below 0°C (32°F) and not above 15°C (60°F). If the gas tank and manuclave are both below room temperature (say in a garage), make sure to cool the manuclave so that it is colder than the gas tank by 5-10°C (10-20°F). Avoid getting the vessel too cold! This may cause the gels inside to shrink and crack.
- Optional for manuclaves without windows: Once cool, take the manuclave out of the freezer and place it on a scale on the ground or a heavy table. You will continue to use the manuclave on the scale. Note the weight of the vessel.
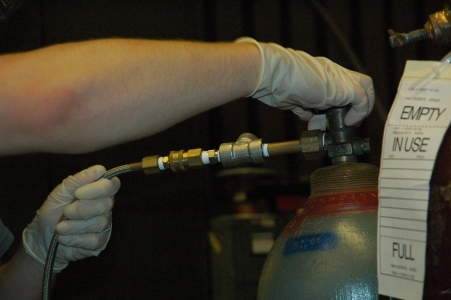
- Slowly open the pressure valve on the carbon dioxide tank. You will hear the hose pressurize.
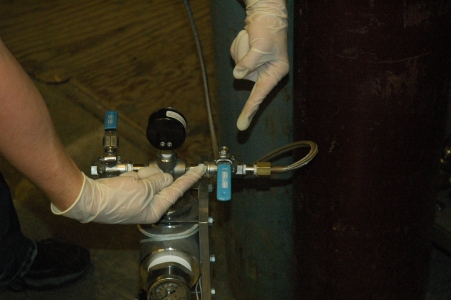
- Carefully open the intake valve on the manuclave. You will feel resistance against the pressure in the hose. You will hear gas rush into the manuclave as the valve opens. Allow the pressure to increase to its maximum (which will be between 650 and 850 psi, depending on the carbon dioxide tank and the temperature of the tank) over the course of about a minute.
- If you are not using a freezer: Carefully and slowly open the pressure release valve at the top of the manuclave so that is hissing with about the same flow you can produce by blowing with your mouth. This will help to siphon liquid carbon dioxide into the manuclave.
- Again, optional for manuclaves without a window: Note the weight of the pressurized vessel and calculate the volume of liquid carbon dioxide that has entered using the following formulas (assumes you have a scale that reads pounds; for kg see Part 1 of 2for the density of carbon dioxide in kg/m3):
- Metric Units: (Weight of Vessel Filled – Initial Weight of Vessel)/(47.64 pounds/cubic foot) * (28 316 mL/cubic foot) = Volume of Carbon Dioxide in Vessel in mL
- English Units: (Weight of Vessel Filled – Initial Weight of Vessel)/(47.64 pounds/cubic foot) * (1,728 mL/cubic foot) = Volume of Carbon Dioxide in Vessel in in3
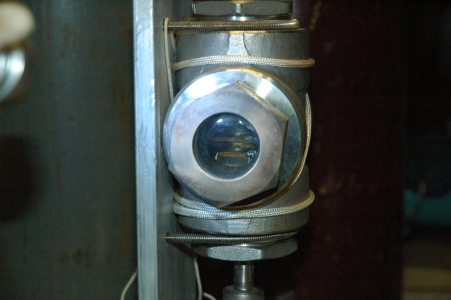
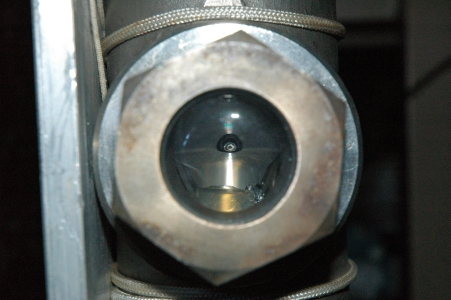
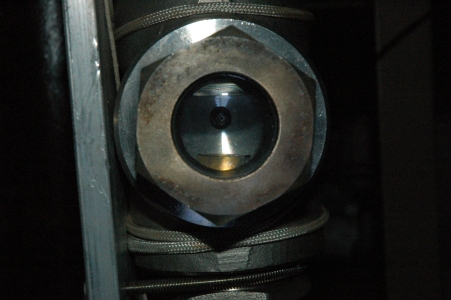
- If you have a window on your manuclave, you can simply watch and see how much carbon dioxide is in the vessel. You want it full.
Part C. Solvent Bath Drain-Off
Remember that solvent bath we put over the gels so they wouldn’t dry out while we pressurized the vessel? Well now we need to get that out. Some of it has already mixed with the liquid carbon dioxide in the vessel but actually most of it hasn’t since because liquid carbon dioxide has such a low density (0.59 g cm-3) it doesn’t really blend well with other liquids unless you stir it.
THIS STEP WILL VAPORIZE SOME OF THE ORGANIC SOLVENT INSIDE THE MANUCLAVE. PROVIDE ADEQUATE VENTILATION AND WEAR A MASK IF YOU HAVE ONE.
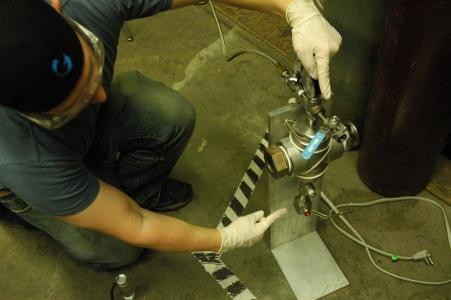
- Place a solvent-resistant cup, large enough to contain twice the volume of the solvent bath you initially placed in the manuclave, under the opening of the drain valve (the vertical valve on the bottom of the manuclave). You may want to place a block under the cup to get as close to the opening of the drain valve as possible.
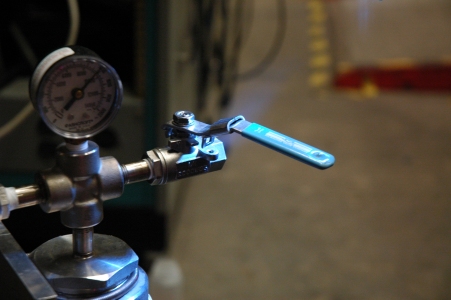
- Carefully and slowly open the drain valve (the vertical valve on the bottom of the manuclave). It will start hiss and spray liquid out.
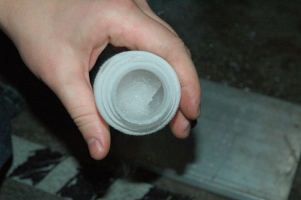
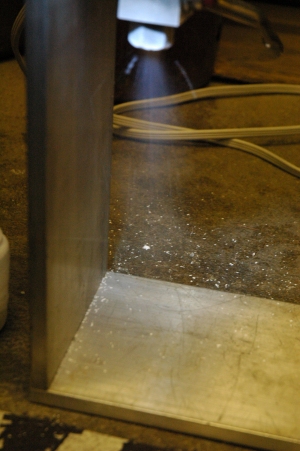
- Collect as much of the solvent as you can. This should take about 10 min. Dry ice will likely churn/spray out and build up in your cup. A slush will result in your cup. You will likely only recover 50-70% of what you put in. If your manuclave has a window, you will see the interface between the organic solvent (bottom phase) and the liquid carbon dioxide (top phase) drop as the liquid drains out.
- Close the drain valve.
- Open the top pressure release valve SLOWLY until it is hissing with about the same flow rate you can produce blowing with your mouth (or a little more).
- Allow the vessel to refill for 10-15 min. If your manuclave has a window, wait until you see the liquid has filled the vessel.
- Close the top pressure release valve.
- Allow the dry ice in the cup to sublime and dissolved carbon dioxide to bubble out. Note the approximate volume of the recovered solvent once the slush has melted.
- Dispose of the collected solvent properly and clean up any solvent that sprayed out into your work area.
The gels in the vessel are now under liquid carbon dioxide and should be allowed to soak for at least 12 hours.
Phase 1: Solvent Exchange into Liquid Carbon Dioxide
It’s this phase where your supercritical dryer is basically like a hyped-up bottle.
For the first solvent exchange you perform, place a cup under the drain valve, thaw the resulting slush, and measure the volume of liquid that results. Add this amount to the amount you collected during the initial solve drain-off performed in Phase 0, Part C. Your total by now should be about 70-80% of what you put in. If not, attempt to collect solvent each time you perform a solvent exchange until only dry ice comes out.
Part D. Liquid Carbon Dioxide Drain and Charge
- Carefully and slowly open the drain valve (the vertical valve on the bottom of the manuclave). It will start hiss. Open so that is spraying vigorously. You may want to wear hearing protection as the spraying can get kind of loud.
- Wait about 10-20 min to ensure the liquid carbon dioxide previously in the vessel has been thoroughly removed. During this time, new liquid carbon dioxide will be rushing in from the gas tank due to siphon action. This is visible as a shower of carbon dioxide coming down from the top of the vessel if your manuclave has a window.
- Close the drain valve. Liquid carbon dioxide will continue to siphon in for a period of time.
- If you are using a freezer: Place the manuclave in the freezer and chill it down to about about 10°C (50°F) but not below 0°C (32°F).
If you are not using a freezer: Open the top pressure release valve SLOWLY until it is hissing with about the same flow rate you can produce blowing with your mouth. Alternatively you can place the manuclave in a freezer. - Allow the vessel to refill for 10-15 min. If your manuclave has a window, wait until you see the liquid has filled the vessel.
- Close the top pressure release valve, if open.
- Optional for manuclaves without a window: Use the procedure detailed in Part B, Step 7 to determine the volume of liquid in your manuclave if you’d like.
- Allow your gels to soak for 12-24 hours. Keep the intake valve to the gas tank open but the other valves closed.
- Repeat steps 1-8 at least 3 times.
Note the length of each soak and the number of exchanges required depends on the size and geometry of your gels. Small samples may only require soaking for 12 hours and 2 recharges. Large cubes or spheres may require 24 hour or longer soakings and 3 or more exchanges.
Phase 2: Supercritical Drying
Once you have performed at least 3 solvent exchanges, you can supercritically dry the gels.
Part E. Making Supercritical Conditions
- Close all valves on the manuclave.
- Close the valve on the gas tank.
- Wipe all surfaces dry of any organic solvent.
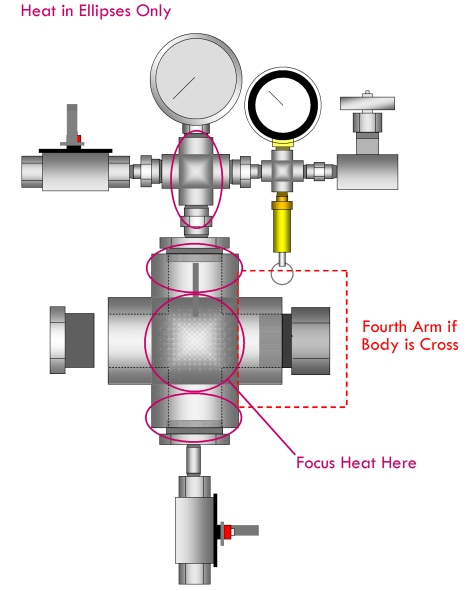
- Using hot air from a hair dryer, begin to heat the main body of the manuclave (see diagram). Do not heat valves or gauges directly.
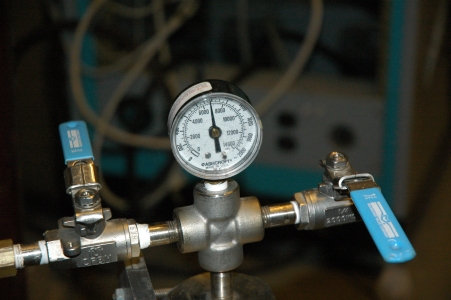
- Carefully monitor the temperature and pressure of the vessel.
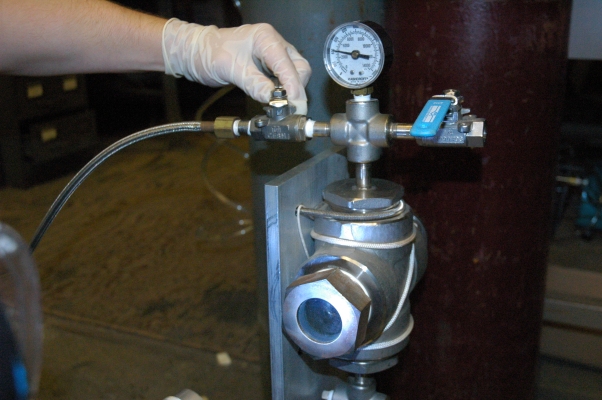
- Heat the vessel to approximately 40°C (105°F) and 1,200 psi (8 270 kPa). As you heat the vessel, the pressure will rise quite rapidly. You will need to release pressure using the pressure control valve as you heat the vessel. Be aware that the temperature may drop slightly when pressure is released. You will want to maintain a balance of pressure and temperature so that you will reach at least approximately 1,071 psi (7 390 kPa), and preferably higher, when the vessel is at 31.1°C (87.7°F). Once you have reached this point, continue heating without releasing any more pressure.
- Be careful! The pressure will rise quickly when you heat, so be sure to carefully maintain the pressure below 1,100 psi (8 270 kPa) before you get within a few degrees of 87°F (31°C).
- Don’t release too much pressure! If you release too much pressure before you reach the target temperature, you will not be able to reach supercritical pressures without severely overheating the vessel!
- Stay clear of the pressure stream released!
- Be patient! Heat slowly over the course of 30 minutes to an hour.
- Once the vessel has reached 40°C (105°F) and 1,200 psi (8 270 kPa), allow it to remain at these conditions for 30-60 min.
Part F. Removing Fluid from the Vessel in the Supercritical Phase
- Heat the vessel until the pressure reaches about 1,400 psi (9 650 kPa). Allow the vessel to equilibrate for 20-30 min.
- Crack open the pressure release valve and slowly release 200-250 psi of pressure over the course of 10-20 min.
- Repeat steps 1-2 until the pressure stops increasing significantly with added heat or until the temperature reaches 50-60°C (120-140°F).
Phase 3: Depressurizing and Shutdown
Part G. Depressurizing
- Crack open the pressure control valve and allow the vessel to slowly depressurize to about 500 psi (3 450 kPa) over the course of 30 to 60 min.
- Open the valve a little more and continue depressurizing. Adjust the valve as needed. The vessel should depressurize to near ambient conditions over the course of 10 to 20 minutes.
- When the vessel reaches near ambient pressure (the gauge reads 0 psi/kPa), open the valve completely.
- Be careful! Although the gauge may read zero, there may still be several atmospheres of pressure built-up inside the vessel! Stand clear of the path of the pressure stream!
H. Post-Drying
- Close the valve on the carbon dioxide pressure tank if it is not already closed.
- Open the pressure release valve completely.
- Wrench out the pipe plug.
- Carefully remove the aerogels. If the aerogels are in a crumb cup wire cage, gently (without squeezing), using a pair of tweezers or pliers, pull the cage out. Grab by the retrieval wire, if you put one on. If the aerogels are free in the vessel, tilt the vessel to allow the aerogels to fall out onto a plate or into a bowl.
- Open the intake valve slowly. Stand back. This will release pressure in the hose through the pressure control valve. Gas and dry ice may spray out. It may take a minute or two to fully depressurize, or a few seconds if you are willing to put up with a loud blast.
- Don’t forget to put your aerogels in a safe container right away so you don’t accidentally step on them!
And that’s it! Congratulations.
Handling Aerogels
Aerogels can be very delicate and need to be handled carefully. Keep the following things in mind when removing aerogels from the manuclave:
- Do not pinch the aerogels.
- Avoid contacting the aerogels with sharp or pointed objects, including the ends of wires, for example, those poking out of your custom-made wire cage!
- Do not expose the aerogels to moisture or submerse in liquid unless they are specifically hydrophobic (an additional process usually performed during the wet gel phase). Be sure to wipe your hands off before handling them and/or wear gloves.
- The best way to move aerogels is by gently dumping them from hand to hand or onto a plate. Avoid picking them up with your fingers.

hi
what is the condition of “Solvent Exchange into Liquid Carbon Dioxide” I mean T=? & P=?
Hi Mojtaba,
The solvent exchange part can be done at about room temperature provided that you know there is liquid carbon dioxide in the vessel. Otherwise, you can bring the temperature down to about 5-10 deg C to help draw carbon dioxide into you supercritical dryer–the pressure will be the vapor pressure of carbon dioxide at the temperature, ~650-700 psi.
Hello,
i wanted to ask if i can run the process with a reactor without drian valve in the bottom.
a top bench Parr instrument 5000 psi reactor.
Regards
Amir
Hi Amir,
Yes, you can run the process in a reactor without a drain valve and just use the vent, although it is less efficient and harder to control in my opinion. This said, we had a high school student make a supercritical dryer without a drain valve and she got large, nice 3″ silica aerogel discs!